Showing posts with label dye. Show all posts

Saturday, 8 August 2015

Flour Resist with Dye and Fabric Inks

I've been getting interested in resists and tried out flour paste as a means to enhance printing and dyeing.

It's quite easy but takes a bit of time.

Pin out a piece of cloth onto a sheet of plastic and onto something with give (I used a scrap of carpet underlay) - as the cloth dries it will shrink so the 'give' is important

Mix 1:1 flour and water - it should drip out in a solid fast drip as per the picture

I spread the mix out with the back of a spoon

Some tools to mark make  

I wrote out some words with a kebab stick

Some more mark making with a cookie cutter

Drying out in the airing cupboard - beware, the smell of the flour mix will linger for months after

When the paste is dry it has a kind of sheen on it

Detail of the dried marks

You can see the curvatures of the shrinkage and how it tugs at the pins

Detail of the marks

Scrunch up the cloth

Cloth after scrunching - brush away the 'crumbs'

I used fabric paint with a brush, really pushing it into the cracks

The back of the cloth once painting has started (I should have put a protective piece of plastic on the table)

This is the same but with dyes

The dyed piece ready for drying and batching

The dried fabric painted cloth - I have started crumbling off the flour

Flour mostly removed

Detail of the cloth - I've left little bits of the flour for texture

I tried removing the flour by washing instead with the dyed piece but it gets very 'gluey'

The finished dyed piece has some delicate colouring

The finished painted pieces - front and back

Beware of flushing the flour mix crumbs down your sink or in your washing machine as it could block your drains.

I found the results really interesting and have used one piece already to resolve.

Here are some other things you can do with flour resist:

Leslie Tucker Jenison Flour Paste Resist turorial

Maree Martin on YouTube

Jamie Kalvesrtan Design

Jane La Fazio


Saturday, 18 July 2015

Polychromatic and Breakdown Printing

We did Polychromatic and Breakdown Printing in class. Very chemically and very messy work. My classmates made a much better fist of it which always demoralises me.

Polychromatic Printing


Polychromatic printing is where Procion MX dye is painted onto the screen and dried. It is then printed out onto cloth that has been previously soda soaked and dried. This is done by pulling dye paste through the screen.

You more or less know what you're going to get but as you repeat the print it fades which can give some nice effects.


From this screen...

...I got this print - I had sprinkled some hole punch dots on the cloth

For the next try (below) I laid out a tree stencil and pulled a screen with reds and magentas dried on it. I went left to right so the print faded as it went. I then laid out a leaf stencil and with a green screen I pulled from right to left so the leaves get fainter as they go.

Because the cloth was wet from the first pull the leaves have a fuzzy edge. If I wanted a sharp edge I'd need to let the first layer batch and dry and do the leaves another day.

Print Two

The tree stencil after the pulls

The leaf stencil after the pulls

For my final try I painted some olive green on a screen but without going all the way to the edges. It looked purposely painterly. I then put some magenta dots randomly across the screen. After it dried I laid out some bird stencils on the fabric and pulled.

Print Three

Bird stencils

Breakdown Printing


It's worth watching this video of Kerr Grabowski demoing Deconstructed (Breakdown) Screen Printing first.

The difference here is that the dye applied to the screen is thickened dye. As the print paste is pulled over it it releases parts of the dye randomly. The results are unexpected and exciting.

Mine where somewhat underwhelming if I'm honest but at least I tried.

Applying the thickened dye to one of my homemade screens

Speeding up the drying process

Being underwhelmed by the results


Links


http://www.kerrgrabowski.com/dsp.htm

https://www.youtube.com/watch?v=pvHY-LhLsAQ

https://www.youtube.com/watch?v=HOV1fsetz04

https://katherinesands.wordpress.com/tutorial-breakdown-printing/

http://feltingandfiberstudio.com/2014/04/12/breakdown-screen-printing-party/

Breakdown Printing: New Dimensions for Texture and Colour Paperback by Claire Benn and Leslie Morgan

Gray's School of Art paste recipes (somewhat scientific).


Saturday, 20 June 2015

Dyeing

We did some tie dyeing in my evening class. I really didn't enjoy it. It's messy and chemically. And I don't like the results. Reminds me too much of travelling through Guatemala in the 90s and the kinds of clothes the tourists were wearing. I don't like the regularity of the repeating patterns or muddiness of the colours.

Nevertheless here are the results.

Preparation - putting in the resists.

From my sketchbook - the results.

This one I liked - the way the red bleeds into the green rather randomly. I later overprinted it with some screen printing.

This was done by one of my classmates and I really like it because it's mostly the original fabric and the dye is irregular.

I'm not sure that I'll be doing much more dyeing but glad to have had a chance to find out I don't like it.

==========
This post is part of a series: see Part I -- see Part II -- This is Part III
==========

Saturday, 23 May 2015

A New Course

What are the chances of this?! I signed up for a course with no idea who the tutor was only to find it's Louise Baldwin whose work I adore. The course explores mixed media approaches to surface design with textiles. Less emphasis on stitch and more on the surface, which is new to me.

So there's lots of mucking about with paint and dyes and gluing things together. Like being back at primary school.

The theme is birds, which can be interpreted to be anything - feathers, eggs, murmurations, nests, flocks etc. Again, this might seem obvious to a natural artist but I'm having to learn how to take one word or idea and let it run to a place that I'm interested in. And that the interesting new place might be something I'd never imagined would grab my attention.

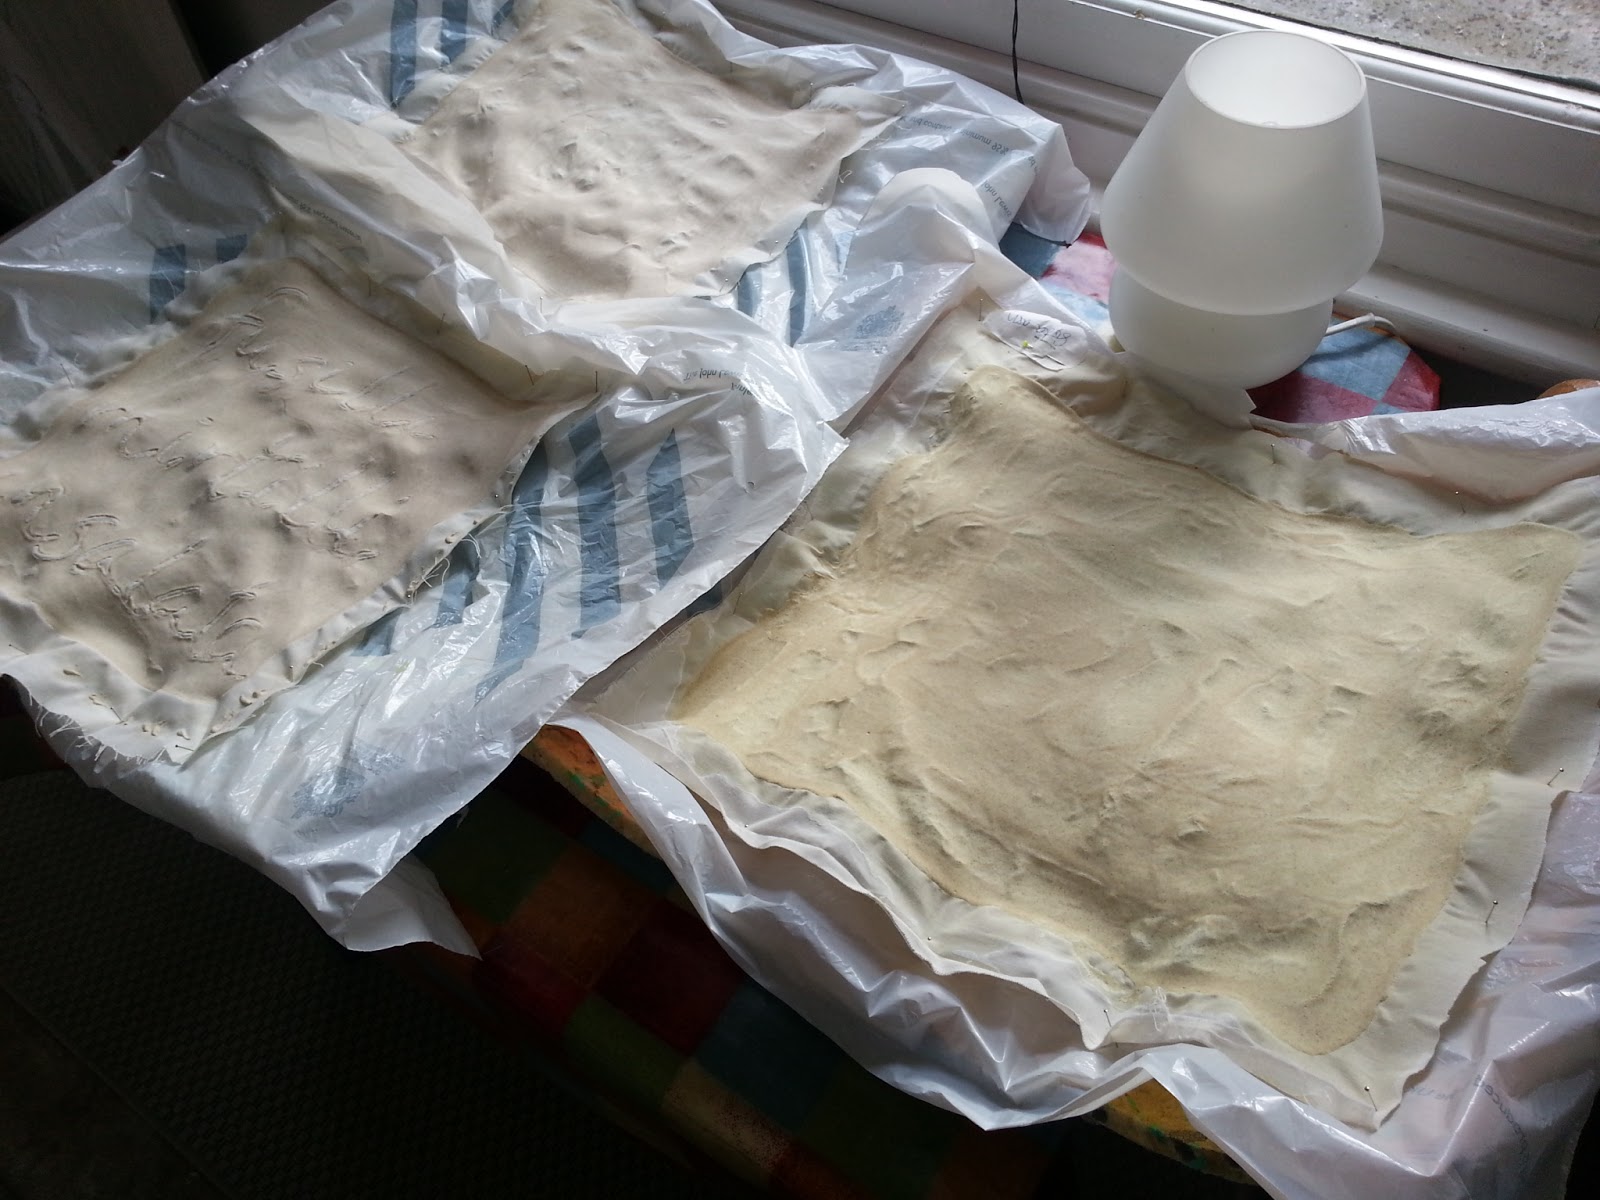
Here was the first exercise we did. Looking at mark-making, textures, composition and colour.

Using a magazine picture as inspiration for colour mixing I came up with this first which I didn't like

Same idea, using a magazine picture to pick a colour palette and trying out different mark making techniques

Rubbings with a graphite block

We then cut our sheets of painted paper up to join things together. Interestingly if there is something you've done that you don't like, for instance my first example above, try cutting a piece out of it to see if it appears different at a different scale.

Collage of mark-making and colour


I'll let you know how other classes go on this course as I've got a feeling I'll be pushing the boat out and learning all sorts of new techniques.

==========
This post is part of a series: this is Part I -- see Part II -- see Part III
==========